
RenoPro InteriorsRenoPro InteriorsDO IT ONCE. DO IT RIGHT.

FIND THE RIGHT FINISH

Flooring with an Attached Pad: What to Check

An attached pad can simplify a flooring assembly, but it does not answer every underlayment question. Read the instructions for the exact product.
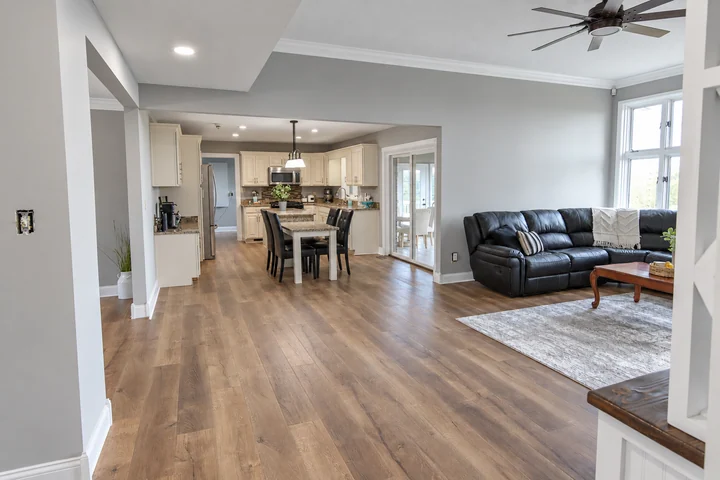
Wood-tone flooring connecting an open living room and kitchen
RenoPro project imagery, also featured in our installation guide. See our work.

Identify what is already attached

Check the pad material, product description and approved installation method. Compare the carton label with the sample, since collections can differ. Ask whether the attached layer is the complete approved cushioning system or whether another specified layer is required for your substrate.

Separate cushioning from moisture control

An attached pad does not automatically establish the required vapor or moisture treatment over a slab. Have the substrate assessed and review the manufacturer’s instructions for that condition. Avoid buying a second generic underlayment before confirming that the combination is permitted.

Compare the complete finished height

Include the plank, attached layer and any approved additional materials when reviewing doors and transitions. Ask how trim and floor connections will be completed. A convenient all-in-one description still needs to be matched to the actual room and installation plan.

Before you decide

Can extra padding make the floor feel better?

Only use additional padding when the flooring manufacturer permits it. An unapproved soft layer can change support beneath the joints and create a different assembly from the one tested.

FROM FIRST IDEA TO INSTALLATION

Your project, step by step.

  1. Picture your finished room. Browse bathroom, kitchen and whole-room inspiration. Choose “I want a room like this” to bring that look into your estimate request.
  2. Explore the finishing touches. Tap “Save product.” Open “Saved products” to add notes, remove options or export a PDF. Your list stays in this browser. For an account-based collection across devices, choose “Save to board” and sign in to your workspace.
  3. Make it yours, with our help. Use the 3-D shower designer for shower layouts and finishes, or draw a room plan for your bathroom or kitchen. The room planner is a floor-plan tool, not a complete kitchen cabinet designer.
  4. Get a clear plan and price. Open “Request an estimate.” Your saved products are included automatically. Add photos and project details, then submit to create your private project. We arrange a visit, confirm the scope and provide a written estimate. After approval, we coordinate installation and a final walkthrough.

You can browse and save without an account. To keep a portable copy, export your list as a PDF or create a private project through the estimate form.

RenoPro brings products from multiple retailers into one catalog. Purchases, final prices and stock are handled by each retailer. You can open retailer details when you are ready.