
A ROOM THAT WORKS FOR YOU
Planning Tile in a Room That Is Not Square
Walls in an existing room may not meet at perfect right angles. Starting a tile grid against one wall can therefore create tapered cuts somewhere else. A deliberate layout makes those compromises visible while there is still time to choose which edges matter most.
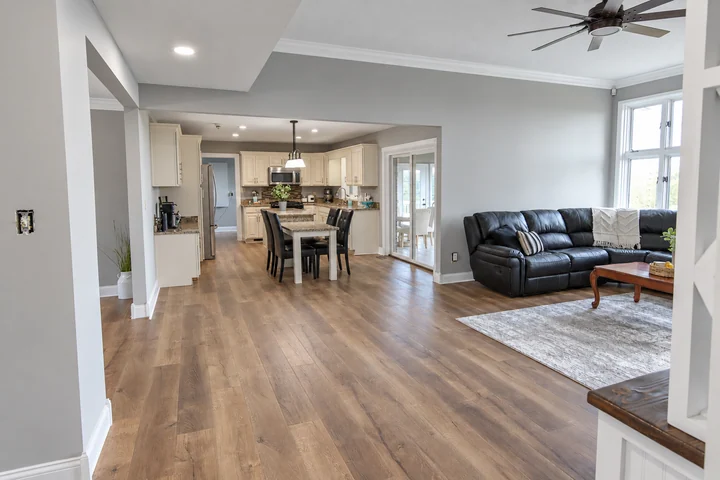
Identify the views people actually see
Stand at the main entrance and look toward the cabinet run, hallway or other dominant feature. Mark those sightlines on a room sketch. Include furniture and fixtures that will conceal some edges. The most useful visual reference may be different from the longest wall, especially when that wall itself is bowed or angled.
Compare two measured starting positions
Ask the installer to show the proposed grid with actual tile dimensions and planned joint spacing. Compare cuts at both ends of the room, not only beside the starting line. For example, shifting the grid slightly may replace a conspicuous narrow wedge at a doorway with broader cuts along a less visible wall. Discuss that tradeoff before adhesive is mixed.
Record the accepted compromise
Note the reference line, tile direction and any perimeter cuts that will taper. Keep a photograph of a dry layout or the approved sketch. Do not try to hide an irregular room by continuously changing grout widths unless the selected installation permits the proposed result. Review edge profiles and base trim so they complement the layout without concealing unsupported tile or required movement details.
Before you decide
Should the tile always be centered in the room?
Not necessarily. A geometric center can produce awkward visible cuts. Evaluate the doorway, focal features and full perimeter before choosing the starting grid.