
A ROOM THAT WORKS FOR YOU
Avoiding Awkward Narrow Rows in Plank Flooring
The width of the last row is determined long before the installer reaches it. Planning both sides of the room can prevent a conspicuous narrow strip or an impractical cut. The starting decision should include connected rooms and the product’s minimum-piece requirements.
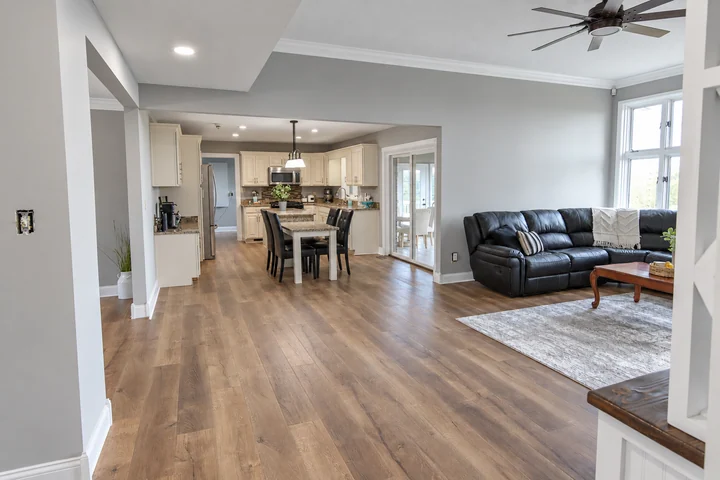
Measure across the intended plank direction
Use the verified room width and actual plank coverage width, with the required perimeter allowance accounted for in the installation plan. Check the measurement at several locations because walls may not be parallel. Include alcoves and doorway projections. A single center-room measurement can miss a much narrower finishing strip at the far corner.
Compare full-width and balanced starts
Ask for a simple row calculation or dry layout. As an illustrative arithmetic example, ten 7-inch rows cover 70 inches; if the planned width leaves only a small remainder, starting with a trimmed row may create more workable cuts on both sides. The installer must apply the actual product dimensions and requirements rather than using that example as a universal layout rule.
Check the next room before approving
A good edge in the first room may lead to an awkward strip through a doorway or beside an island. Review the connected plan and identify the priority sightlines. Record any accepted tapered cuts and transition locations. Confirm that trim covers the intended perimeter detail without reducing required movement space or disguising a piece that is unsuitable for the selected locking system.
Before you decide
Should both edge rows always be equal?
Equal widths can be attractive, but room shape, fixed objects and product requirements may justify another arrangement. Compare the complete plan rather than enforcing symmetry in one room only.